Table of Contents >> Show >> Hide
- Why crates work (and when they don’t)
- Pick the right crate: wood, plastic, or “mystery crate”
- Prep your crate so it behaves in a kitchen
- The 3 easiest crate kitchen storage builds
- Organize like a pro: create “zones” that make sense
- What to store in crates (with specific examples)
- Common crate-storage mistakes (and fast fixes)
- Conclusion: the crate system that actually sticks
- DIY Experiences: What people learn after living with crate kitchen storage (extra )
- SEO Tags
If your kitchen cabinets are a black hole where spatulas go to retire, you’re not alone. The good news: you don’t need a full renovation (or a reality TV crew)
to get your kitchen under control. One of the easiest, most flexible, and surprisingly stylish fixes is also one of the simplest: crate storage.
DIY communities like Hometalk love crates because they’re modular, affordable, and forgiving. You can add one. You can add five. You can rearrange them when
you realize your “snack zone” has quietly become a “snack district.” And when done right, crate kitchen storage doesn’t just hide clutterit creates a system
that makes everyday cooking faster, cleaner, and way less cranky.
Why crates work (and when they don’t)
Crates hit a sweet spot between “pretty baskets that cost more than my blender” and “random cardboard boxes that scream I gave up.” They’re sturdy,
breathable, easy to grab, and great for creating zonesthe organizing secret that helps things stay tidy after the first week.
Crates are great for:
- Open storage: snacks, onions and potatoes (in the right conditions), kitchen linens, reusable bags
- Pull-out storage: deep shelves, awkward corners, under-sink supplies
- Vertical storage: wall-mounted cubbies for lightweight items
- Countertop corralling: coffee station supplies, cookbooks, meal-prep tools
Crates are not great for:
- Mess you don’t want to see (open storage only works if you commit to a little maintenance)
- Direct contact with unwrapped food (treat crates like a “container holder,” not a cutting board)
- Overloading on drywall (if it’s heavy, anchor properlyor keep it on shelves/floor)
Pick the right crate: wood, plastic, or “mystery crate”
Not all crates are created equal. Some are built to look cute in a pantry. Others are built to survive international shipping, warehouse forklifts, and
the emotional trauma of being stacked 12 high. Choose with purpose.
1) Size and shape: measure first, shop second
The easiest way to make crate storage feel custom is to match crate dimensions to your space.
Measure the width, depth, and height of the shelf/cabinet/wall area where the crates will livethen choose crates that leave a little breathing room for
hands, labels, and liners. (Yes, measuring is annoying. No, “I eyeballed it” has never been a long-term organizing strategy.)
2) Material: wood crates vs. milk crates
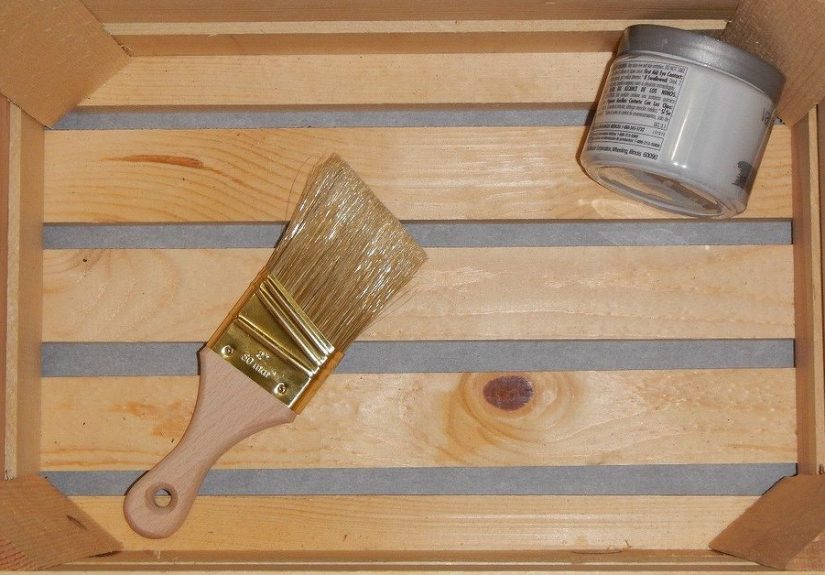
Wood crates are warmer, more decorative, and easy to stain or paint. They also need light sanding and a wipe-down before entering the kitchen.
Plastic milk crates are washable, durable, and excellent for pantry overflow or garage-to-kitchen transitions (like bulk paper towels).
If you want “wipe and go,” plastic wins. If you want “farmhouse-ish charm,” wood wins.
3) Safety and cleanliness: avoid the sketchy crate origin story
If you’re buying new crates made for home storage, you’re usually fine. If you’re reusing shipping crates, be cautious: some wood packaging is treated for
pest control and marked accordingly. For kitchen storage, it’s smart to avoid unknown “mystery crates” for anything that will sit near food, dishes, or
utensils. When in doubt, buy inexpensive unfinished crates meant for home projects.
Prep your crate so it behaves in a kitchen
Kitchens are humid, messy, and occasionally feature flying flour. A little prep makes crate storage last longer and clean easier.
Quick prep checklist
- Sand rough edges (especially handles and corners) so you don’t snag towels or scratch hands.
- Vacuum and wipe dust away with a damp cloth.
- Finish (optional): stain, paint, or seal for easier wipe-downs.
- Add liners: shelf liner, cork, or a cut-to-fit mat reduces slipping and catches crumbs.
- Label: even a simple tag prevents “miscellaneous creep.”
If you seal wood, let finishes cure fully before using crates near food-related items. For kitchen storage, the goal is durability and cleanabilitynot a
museum-quality shine that shows every fingerprint like a crime scene.
The 3 easiest crate kitchen storage builds
You can go from “chaotic kitchen” to “I can find my measuring cups” with one afternoon and one screwdriver. Pick the build that matches your space and your
commitment level.
Build A: Shelf-sitter crate bins (zero drilling, maximum reward)
This is the starter leveland honestly, it might be all you need.
- Choose 2–6 crates that fit your pantry shelf or cabinet.
- Assign each crate a category: snacks, breakfast, baking, pasta, “backstock,” etc.
- Use a liner or shallow tray inside for crumb control.
- Label the front so everyone in the house can “put it back where it lives.”
Pro tip: Put heavier items on lower shelves, and keep kid snacks in a crate they can reach (so you stop being summoned like a snack butler).
Build B: Pull-out crate storage for deep shelves (the “no more digging” upgrade)
Deep pantry shelves are where good intentions go to die. A sliding crate turns a deep shelf into a pull-out drawer.
- Pick sturdy crates that fit the depth and height of the shelf opening.
- Reinforce wobbly crate slats with wood glue and brad nails (optional but helpful).
- Install full-extension drawer slides on the shelf walls or on mounted cleats.
- Attach matching slide pieces to the crate sides, then slide the crate into place.
- Label and load with pantry categories (or cleaning supplies if under-sink).
This setup is ideal for bags of snacks, small appliances, or “bulk but lightweight” items. You get visibility and access without removing eight things to reach
the ninth thing you forgot you owned.
Build C: Wall-mounted crate cubbies (for light items and big visual impact)
Wall-mounted crates can look amazingbut treat them like shelves: mount safely and store smart.
- Plan the layout on the floor first (mix horizontal and vertical crates for variety).
- Find studs when possible; if not, use wall anchors rated for the load.
- Mount crates with screws through the back slats into studs/anchors (or use L-brackets for extra stability).
- Keep contents lightweight: dish towels, recipe books, spices (in containers), tea, coffee pods, napkins.
- Leave breathing room around the stoveheat and grease are not your crate’s love language.
Organize like a pro: create “zones” that make sense
The secret to organization that lasts isn’t buying more containersit’s deciding what belongs where. Zones reduce decision fatigue and prevent the classic
kitchen problem: “I put it somewhere safe, which means I will never see it again.”
Easy zones that work in most kitchens
- Breakfast zone: oats, cereal, coffee/tea, sweeteners, filters
- Snack zone: grab-and-go items, lunchbox staples, quick treats
- Baking zone: flour, sugar, chips, extracts, sprinkles, liners
- Weeknight cooking zone: pasta, rice, canned beans, sauces
- Backstock zone: extras of what you actually use (not what you used once in 2019)
Labels: the tiny tool with big “stay organized” energy
Labels aren’t just for aesthetics. They reduce re-cluttering because people don’t have to guess where things go. You can use a label maker, chalkboard labels,
or even painter’s tape with a Sharpie. If the label is readable, it’s doing its job.
What to store in crates (with specific examples)
Crates shine when they hold groups of items that are annoying to stack or easy to lose. Here are practical, kitchen-friendly crate assignments:
Pantry crates
- Snack packs: granola bars, fruit snacks, crackers (add small dividers if needed)
- Pasta + grains: pasta shapes, rice, quinoa, couscous
- “Bags that flop” bin: chips, tortillas, open baking ingredients (use clips)
- Breakfast extras: pancake mix, syrups, toppings, toaster pastries
Countertop crates
- Coffee station: pods/beans, filters, stir sticks, mugs (if sturdy)
- Cooking tools: oils and vinegars (if you have a lip/liner for drips)
- Cookbooks: upright in a horizontal crate like a mini shelf
Under-sink crates
- Daily cleaning: sprays, sponges, gloves, microfiber cloths
- Trash setup: bags, liners, extra scrubbers, drain strainers
- Dishwasher helpers: rinse aid, tabs, brush refills
Rule of thumb: if it leaks, use a liner. If it’s heavy, keep it low. If it disappears, label it. That’s basically adulthood in three steps.
Common crate-storage mistakes (and fast fixes)
Mistake: “One crate for everything”
That’s not organization; that’s a crate-shaped junk drawer. Fix it by dividing into categories and adding a label. If you need more than one label for a crate,
you need more than one crate.
Mistake: Wall-mounting and then loading it like a warehouse pallet
Wall crates should hold lighter items. If you want heavy storage, use shelf-sitter crates or floor-based solutions like a rolling cart with crates.
Mistake: Buying crates first, then trying to “make them fit”
Measure your space, then shop. A crate that blocks a cabinet door will quickly become a crate that “lives somewhere else” (like your garage… forever).
Conclusion: the crate system that actually sticks
Easy crate kitchen storage works because it’s flexible, visible, and simple to maintain. Start small: two labeled crates on one shelf can change how your
pantry functions. Then expand only where it solves a real problemdeep shelves, cluttered counters, or that cabinet where lids go to start a new life.
The best part? Crate storage doesn’t demand perfection. It rewards consistency. A quick weekly reset, a few labels, and a system built around how you
actually cook will keep your kitchen feeling calmerwithout you having to become a person who “just loves organizing.” (You can still love snacks.
Snacks are allowed.)
DIY Experiences: What people learn after living with crate kitchen storage (extra )
DIY crate storage looks adorable on day one. The real test is day thirtyafter groceries, after school lunches, after the “why are there three open bags of
pretzels?” era. And that’s where the most useful lessons come from: not the perfect photos, but the everyday reality of using crates in a working kitchen.
One common experience is the “crate gravity” discovery: if a crate is too deep and lives on a high shelf, it becomes a storage time capsule. People often start
with big crates because bigger feels more efficientthen realize big crates hide small items. The fix most DIYers end up loving is simple: use smaller
crates for small items (seasonings, snack bars, packets) and reserve larger crates for bulky, uniform things (paper goods, chips, boxed pasta). In other
words, match crate size to item behavior. If it rolls, wanders, or multiplies (hello, sauce packets), it wants a smaller home.
Another frequent story comes from families with kids: the “snack stampede.” When the snack zone is unlabeled, kids pull out half the pantry like they’re mining
for gold. But once snacks live in a labeled, reachable cratesometimes even with sub-groups like “sweet,” “salty,” and “lunchbox”the mess drops dramatically.
It’s not magic; it’s friction reduction. Crates make it easy to grab what you need without handling everything else. And when the crate is easy to return, it’s
more likely to be returned (a small miracle, but we’ll take it).
Renters often share a different experience: wanting the look of wall crates without the commitment of serious holes. The workaround that shows up again and again
is choosing crate shelf-sitters (on top of the fridge, on pantry shelves, or on a freestanding rack) and treating the crate like a removable
drawer. Renters also tend to lean into linersnot just for crumbs, but to protect shelves and make cleaning easy at move-out time. A washable
mat or shelf liner inside each crate turns “shake out crumbs” into a 30-second job instead of a full “why did I choose this hobby?” moment.
People who try sliding crates in deep cabinets usually report the same delight: suddenly, the back of the shelf exists. That’s a big deal in kitchens where
storage is deep but access is terrible. The practical lesson is to keep sliding crates for lighter-to-medium loads and to reinforce crates that feel flimsy.
Many DIYers also learn to label not just the front of the crate, but the top edge toobecause when a crate is pulled out, the top label is
what you can read while you’re holding it. Tiny detail, big daily convenience.
Finally, there’s the most universal experience: crate systems “stick” when they’re tied to routines. The people who love their crate storage long-term usually
do one quick reset per week: toss stray items back into their zones, wipe liners, and check for expired pantry stowaways. It’s not a full reorganization; it’s
a maintenance lap. Crates make that maintenance easier because the system is already grouped. Instead of organizing 83 individual objects, you’re managing a few
containers. And that’s the whole point: less chaos, less time, more kitchen peace.