Table of Contents >> Show >> Hide
- What this hack can (and can’t) do
- Why olive oil and vinegar work together
- Before you start: know your surface (so you don’t create a new problem)
- The recipe: pick a ratio that matches the job
- Step-by-step: the 10-minute wood refresh
- Targeted fixes: common wood problems and how to handle them
- Mistakes that make this hack backfire
- When to stop DIY-ing and bring out the “real restoration” tools
- A simple maintenance rhythm (so you don’t have to “restore” again next month)
- FAQ
- Wrap-up
- Experiences & lessons people commonly learn with this hack (the “read this before you wing it” section)
Your wood furniture doesn’t usually need “restoration.” It needs a nap, a snack, and a little respect. And yessometimes that snack
looks suspiciously like salad dressing: olive oil and vinegar.
This old-school, pantry-friendly combo can make tired-looking wood look richer, reduce the “I’ve been through it” vibe from light
surface marks, and bring back a soft glow in minutes. It’s not magic. It’s chemistry, friction, and you finally buffing something
all the way dry.
What this hack can (and can’t) do
It can help with:
- Dull, dry-looking finished wood that lost its shine
- Light grime and fingerprints
- Minor white water rings or hazy heat marks (sometimes)
- Very shallow scratches that look lighter than the surrounding wood
It can’t fix:
- Deep scratches you can feel with a fingernail
- Peeling, flaking, or sticky/failed finish
- Veneer that’s lifting or bubbled
- Water damage that turned the wood black (that’s usually deeper than the finish)
Why olive oil and vinegar work together
Vinegar: the gentle “cut-through” step
Distilled white vinegar is mildly acidic, which helps break up surface filmthink fingerprints, old residue, and that mysterious
kitchen haze that appears when nobody’s looking. For certain white heat/water marks (often trapped moisture in the finish), vinegar
can help loosen what’s dulling the surface so it wipes away more cleanly.
Olive oil: the quick glow-up
Olive oil doesn’t “repair” wood the way a true finish does, but it can temporarily condition and deepen the look of the grain.
It also fills tiny surface micro-scratches and evens out how light reflects, which makes small imperfections look less obvious.
Translation: it’s makeup for furniture. Natural, dewy, “no-makeup makeup.”
Before you start: know your surface (so you don’t create a new problem)
Do a 30-second finish check
- Finished/sealed wood (most dining tables, dressers, coffee tables): usually safe for a cautious test.
- Waxed furniture: vinegar can wear down the wax layer. Proceed carefullyor skip the vinegar and use a wax-friendly approach.
- Unfinished/raw wood: liquid can soak in unevenly and stain. This hack is not a great match.
Always do a test spot
Pick an inconspicuous area (inside a leg, under an edge). Apply the mixture, buff dry, and wait 10–15 minutes. If it looks dull,
tacky, or blotchystop and switch methods.
A quick “don’t do this” note about floors
This hack is for furniture and smaller wood surfacesnot hardwood floors. Vinegar is often discouraged for floors because repeated
use can degrade finishes over time, and oil can leave a residue that attracts dirt (and can make things slippery).
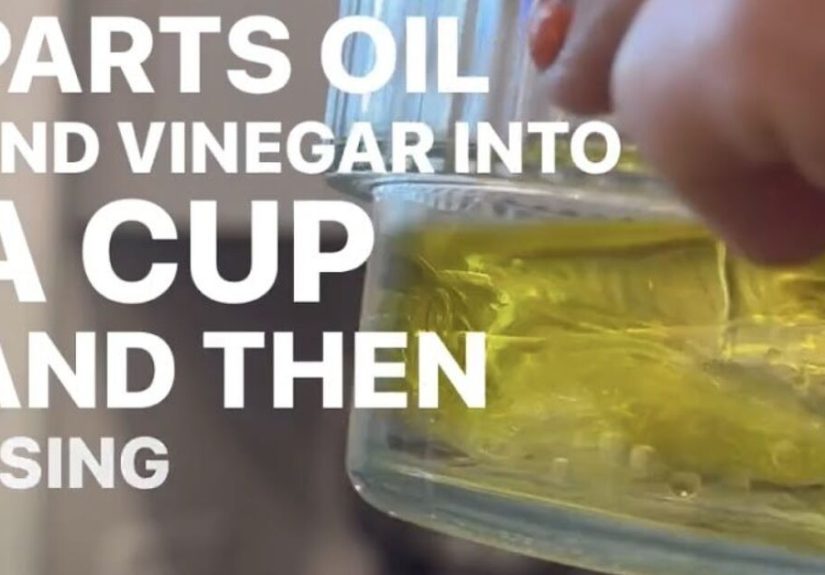
The recipe: pick a ratio that matches the job
Different reputable home-care sources recommend different ratios because wood problems are different. Here are three useful options
that cover most situations:
Option A: Equal parts (1:1) for spot-treating rings and haze
- Best for: white water rings, mild heat haze, quick spot fixes
- Why: more vinegar bite for stain-lifting, still enough oil to re-polish after
Option B: Conditioning blend (3:1 oil to vinegar) for dry, dull furniture
- Best for: “my table looks thirsty” situations
- Why: more oil means less risk of vinegar dulling the shine on sensitive finishes
Option C: “Polish-style” blend (4:1 oil to vinegar) for routine brightening
- Best for: quick shine on finished furniture that’s already in good shape
- Why: light cleaning with a stronger polishing effect
Which vinegar? Distilled white vinegar is the usual go-to. Some people prefer apple cider vinegar for darker woods.
Avoid balsamic unless you want your table to look like it lost a fight with a salad.
Step-by-step: the 10-minute wood refresh
- Dust first. Use a dry microfiber cloth. If you rub oil over dust, you’re basically making “grain-flavored mud.”
- Mix your solution. Stir or shake in a small jar. (Oil and vinegar separatejust like certain group chats.)
- Apply to the cloth, not the furniture. Lightly dampen a soft cloth. Don’t pour directly onto the wooddrips can sneak into seams.
- Wipe with the grain. Work in small sections: 1–2 square feet at a time.
- Let it sit briefly. For general polishing, 1–2 minutes is plenty. For a ring or haze, you can give it 5–10 minutes (but don’t walk away for an hour and forget).
- Buff completely dry. Use a second clean cloth and buff until the surface feels dry to the touch. This is the step that separates “wow” from “why is it sticky?”
- Repeat only if needed. Another light pass is better than one heavy soak.
Targeted fixes: common wood problems and how to handle them
1) Dull finish and faded grain
Use the 3:1 or 4:1 blend. Apply lightly, wipe with the grain, then buff dry. The goal is a thin, even coatno visible wetness.
Example: A side table in a sunny room that looks washed-out can often look richer after a light conditioning pass, especially on darker stains.
2) White water rings (from glasses) and mild heat haze
Try the 1:1 blend as a spot treatment. Rub gently with the grain (or in small circles if the grain direction is hard to follow),
then buff dry. If the ring fades but doesn’t disappear, stop after two triesoverworking can dull the finish.
If the mark is dark (brown/black), it’s usually deeper moisture or wood staining. This hack may not help muchconsider other methods
or professional refinishing for valuable pieces.
3) Light surface scratches
This hack can make shallow scratches less noticeable because oil darkens the scratch area and reduces contrast.
Use a more oil-heavy mix (3:1 or 4:1), apply precisely, and buff well.
Example: A faint, pale scratch on a walnut-toned table edge often blends better after conditioning, even if it isn’t truly “repaired.”
4) Sticky residue (labels, old tape, mystery gunk)
Some cleaning pros recommend olive oil to soften sticky residue. Apply a small amount of oil to the residue, let it sit briefly,
then gently wipewarming the area carefully can help release the sticky layer. Afterward, clean the area and buff it dry so you don’t
leave an oily patch behind.
5) Kitchen wood: greasy fingerprints and cabinet grime
For cabinets, it’s often smarter to clean first with a mild degreasing approach (like diluted vinegar and water with a tiny bit of dish soap),
thenonly if neededfinish with a very light oil-based buff on fully dry wood. Cabinets attract buildup fast, so less oil is more.
Mistakes that make this hack backfire
- Using too much oil: leads to sticky surfaces that attract dust. Thin coat, heavy buff.
- Spraying directly on furniture: liquid can pool in joints and soften finishes over time.
- Skipping the test spot: some finishes get dull or hazyespecially waxed surfaces.
- Doing this weekly: over-polishing can cause buildup. Save it for occasional refreshes.
- Using it on unfinished wood: blotches and uneven darkening are common.
When to stop DIY-ing and bring out the “real restoration” tools
If the finish is cracking, peeling, or feels tacky no matter how much you buff, the issue isn’t drynessit’s finish failure or buildup.
For deep scratches, missing finish, or antiques with value, consider a dedicated furniture wax, a proper polish, or professional refinishing.
A simple maintenance rhythm (so you don’t have to “restore” again next month)
- Weekly: dry dust with microfiber
- Monthly: wipe with a barely damp cloth + a drop of mild soap, then dry immediately
- Seasonally: do a light conditioning pass (oil-heavy mix), then buff thoroughly
- Always: use coasters and felt padsfuture you will feel personally blessed
FAQ
Will vinegar damage wood furniture?
Vinegar can be safe on many finished wood surfaces when used lightly and wiped off promptly, but it can damage wax layers and may dull
certain finishes if used repeatedly or too strong. Test first.
Will olive oil go rancid on furniture?
Used occasionally in a thin layer and buffed thoroughly, it’s less likely to cause issues. The bigger risk is oily buildup that turns
sticky and attracts dust. If you’re worried, use the hack sparingly and consider a dedicated furniture polish for routine care.
Can I store the mixture?
Oil and vinegar separate, so you’ll need to shake before each use. For best results (and fewer “what is growing in this jar?” moments),
mix small batches and use them up rather than storing long-term.
Wrap-up
The olive oil and vinegar wood restoration hack is best thought of as a quick refresh: it cleans light film, boosts shine, and helps
shallow marks blend inespecially on finished furniture that’s simply looking tired. Use the right ratio, work in small sections, and
buff like you mean it. Your table will look less “before” and more “after,” without you needing to buy seventeen bottles of mystery spray.
Experiences & lessons people commonly learn with this hack (the “read this before you wing it” section)
If you ask a group of DIYers how this hack went, you’ll usually hear one of three stories: “It worked instantly,” “It worked after I
buffed it properly,” or “Why is my table… tacky?” That last one is the most useful, because it reveals what this method is really doing.
The shine doesn’t come from the vinegar. It comes from an ultra-thin layer of oil that’s been spread evenly and then mostly removed by
buffing. The best results show up when people treat the mixture like a rinse-and-polish, not a soak.
One common experience: the first pass looks streaky. This usually happens when the cloth is too wet or the mixture is too oil-heavy for
the surface. The fix isn’t more liquidit’s a second, clean cloth and a little patience. When people switch to a dry microfiber cloth and
buff with long strokes in the direction of the grain, streaks often disappear and the wood starts to look “even” again. That moment is
when the hack feels like magic, even though it’s mostly physics: you’re evening out residue and smoothing how light reflects.
Another typical “aha”: it helps the look of light scratches more than it actually removes them. People notice that a pale scratch on a
darker table edge suddenly blends in. What happened is contrast changedthe oil darkened the scratch area and reduced the visual gap.
This is why many folks reserve the hack for quick cosmetic wins, especially before guests come over. It’s the furniture equivalent of
concealer: not permanent, but surprisingly effective for small imperfections.
When it comes to water rings, experiences are mixedand that’s normal. White rings are often moisture trapped in the finish. Sometimes
this method helps loosen the hazy look so it buffs out. Other times it barely changes anything, which is a clue that the mark is deeper
or the finish is more sensitive. People who get the best outcomes tend to do two things: use a small amount, and stop early if the finish
starts looking dull. Overworking a spot can create a larger, uneven patch that’s more noticeable than the original ring.
The biggest lesson most people learn is about frequency. The hack feels so easy that it’s tempting to use it constantlyespecially on
dining tables that take a daily beating. But repeated oiling can create buildup that collects dust and turns a little sticky over time.
Many experienced cleaners end up using this as an occasional refresher (think: seasonal or “special occasion” touch-up), and they rely on
simple habits the rest of the time: coasters, quick wipe-ups, and dry microfiber dusting. In the end, the hack is less about “restoring”
wood and more about restoring your confidence that you can make your furniture look good againwithout turning your living room into a
chemical aisle.